My Hypno arrived yesterday and I wasted no time (sorry but there’s no action packed unboxing video). I started this topic in the hopes that it may help another noob get oriented to the unit.
My 1st concern was powering the thing up without setting my house on fire. I’ve got a fair amount of experience with electronic musical gear and do understand ohm’s law but I’m more accustomed to selecting a typical PSU where the specs call for 5v or 9v and a minimum amperage along with center pin positive or negative. The USB thing had me worried but it turns out I had a power strip with USB A and C connectors that will output the requisite 5v with 3a minimum for the Hypno, so yay!
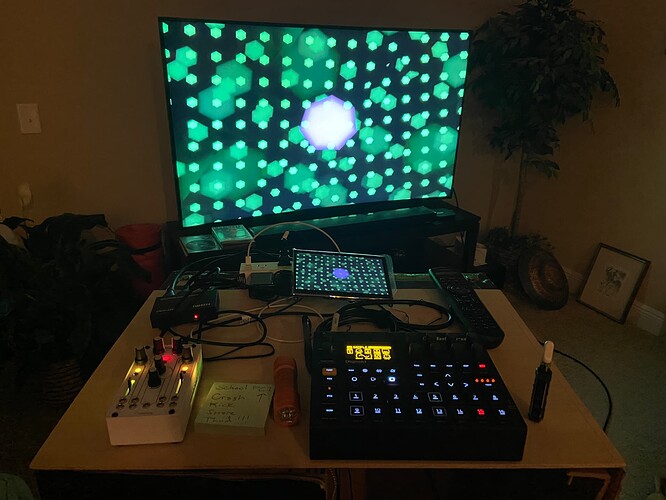
I started out by connecting the Hypno to my ginormous Samsung TV with a ridiculously long HDMI cable (do this before powering the Hypno up), and inserting the USB with all the free visuals from Sleepy Circuits. Then I plugged the Hypno into the power strip and voila, visuals!
Next I started going through the user guide. It really is just a guide as compared to the Elektron Digitakt documentation which is a full on manual (not a complaint, simply an observation / opinion).
I was working with the Night Visions USB video pack and using the Hypno front panel controls to get oriented. It took a minute to figure out that both the lights above the frequency sliders need to be AQUA colored in order for both the A & B sides to show the selected USB graphic. It is not possible to display different USB graphics on the A and B sides. It doesn’t matter which set of browsing buttons (left + center or right + center) that you use to select the USB graphic; both sides will display the selected image or movie file. You can, however, show the USB image on the A or B side and press the opposite button (above the frequency slider), to select any of the internal waveforms for display along with the USB graphic.
So I fritzed around for a while with both the A & B sides set to the USB video of the rabbits (I can’t believe there are no kitty graphics but I guess rabbits are a decent proxy), and it was going well until I dove into the Input Shape Pages and started changing the different values. Things got a bit too weird to make any sense so I removed the USB memory stick and switched image sources to the internal waveform shapes. I had to reboot the Hypno because I couldn’t figure out how to undo all the modulations I’d done previously. Tonight I’m going to try saving a freshly booted Hypno as a preset to avoid having to do this.
I found that POLY produced shapes that were the easiest to manipulate in order to understand what was going on as I moved the various controls. Push the left & right buttons (one at a time), until each of the lights above the frequency sliders are YELLOW to select the POLY waveform shape for both the A and B sides.
The moral to the previous long and tedious paragraph(s) is, don’t start off using movie visual inputs because the motion of the images makes it difficult to see the effects of the panel controls.
At the end of the user guide I was still a bit disoriented so I started watching mylarmelodies great YouTube Sleepy Circuits Hypno tutorial (hey, Google bot, crawl your sleepy @55 over here and index this link).
I made it as far as the 25 minute mark (this is where he hooks up the Moog Mavis), and at this point I felt reasonably well oriented to the controls and was getting a bit nauseous from staring at the freaky motions on my TV. This was surprising since I spent 30+ years working as a merchant mariner and have never gotten seasick. So I shut the Hypno down and went to bed with visions of fractally sugar plums dancing in my head.
Tonight I’m going to do a repeat of last night and roll through all the internal waveform shapes and the panel controls / pages (I didn’t try the Feedback Page and will for sure give that a go).
I’ll be posting more impressions over the next few days, which will probably result in a forum ban and the entire Sleepy team hunting me down and yanking my underwear up into my spine.

